Image workflow guide
Is ImgUpscaler better than Photoshop? Choose by task
Is ImgUpscaler better than Photoshop? For a straightforward enlargement, a focused upscaling workflow may be simpler. For selective repairs, compositing and precise control, Photoshop is the stronger editing workspace. Neither can recover detail that was never captured with certainty.
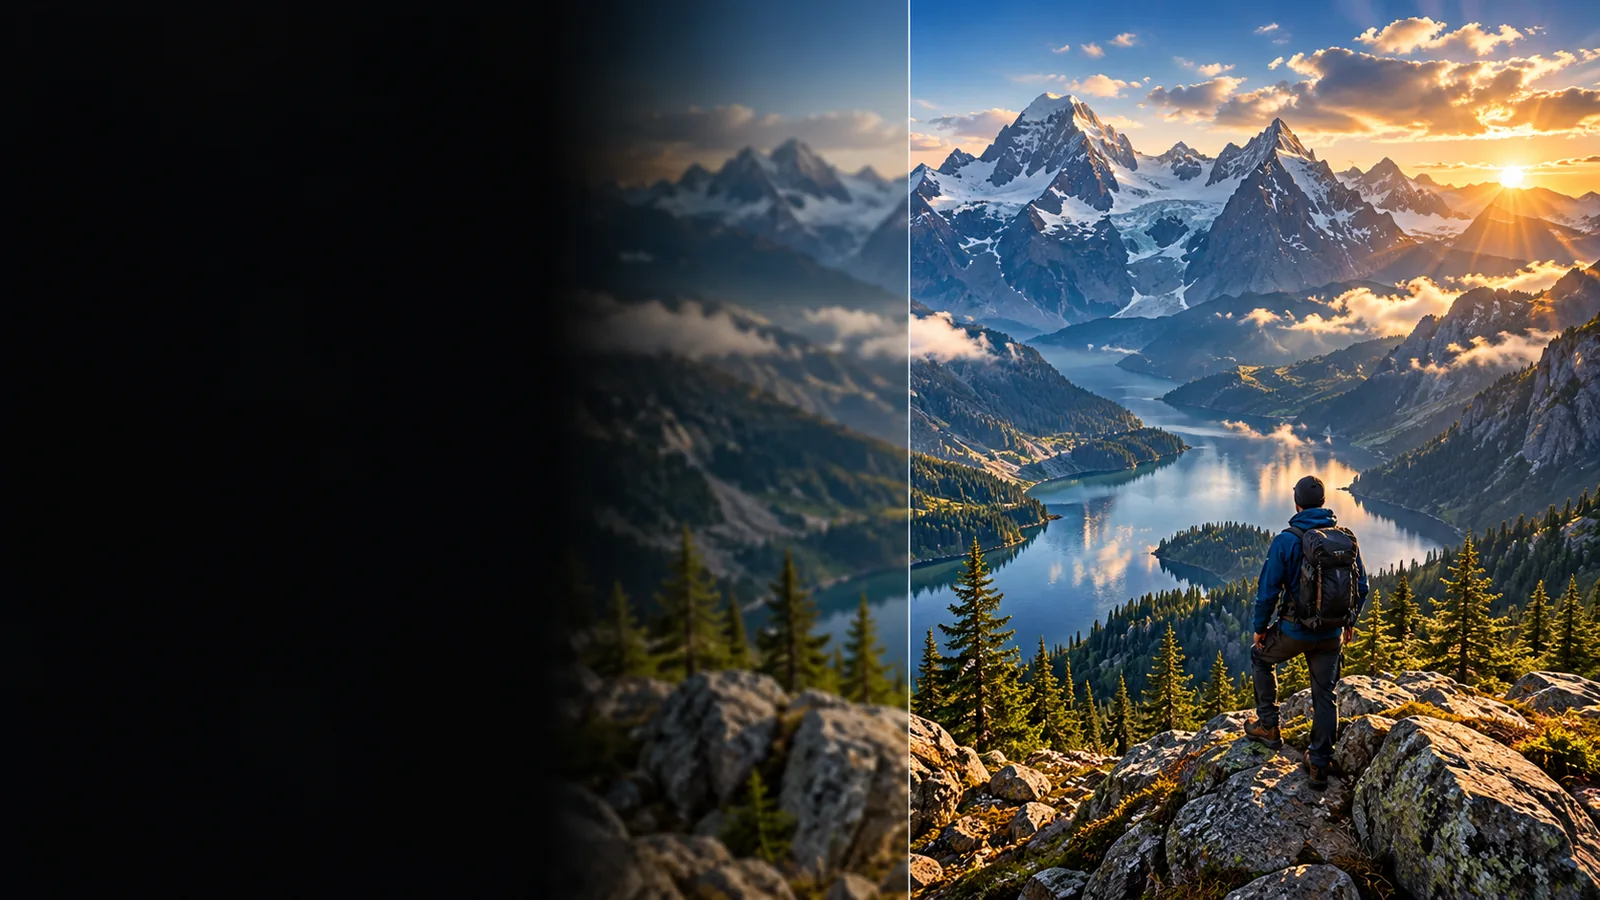
Verdict first: compare the job, not the brand
The useful question is whether you need a larger image or a broader edit. Start with the result you must deliver, then consider how much manual control it requires.
- imgupscaler alternative free Compare other routes to image enlargement without assuming their access terms or results are identical.
- imgupscaler ai See how AI-assisted enlargement differs from simply adding more pixels.
- imgupscaler privacy Check what to consider before sending a sensitive image to an online service.
Dimension by dimension: test what matters
A fair comparison uses the same source image and the same intended display size. Judge visible artifacts and the effort needed to make the result usable.
-
1
Choose a representative source
Use an image like the ones you actually work with: a small portrait, a product photo with crisp edges or an illustration with fine lines. Keep the original untouched. A clean source, a compressed thumbnail and a blurred crop present different problems, so one impressive sample cannot settle every use case.
-
2
Compare at the intended size
Enlarge copies to the size needed for your website, presentation or print draft. Inspect eyes, lettering, hair, repeated textures and high-contrast edges at normal viewing size, then zoom in to check for invented texture and halos. Extra pixels alone do not prove that an enlargement preserves the subject faithfully.
-
3
Count the edits left to make
If the enlarged image is ready to place, a focused workflow may be enough. If you must isolate a subject, correct one region, manage layers or combine images, compare the entire finishing process rather than the initial enlargement. Photoshop's editing controls can outweigh a quicker first pass when substantial retouching remains.
Who each approach suits
Imgupscaler is best considered for an enlargement-first task; Photoshop suits work that needs detailed intervention. Both have limits worth checking before you commit.
A larger image is not a faithful reconstruction
An upscaling result may look sharp while changing tiny lettering, facial features or patterned material. That matters for documentation, product accuracy and any image where small details carry meaning.
What to do instead
Compare the output with the original at matching display size and reject changes to important details.
Focused enlargement does not replace layered editing
A single enhancement pass is a poor substitute for masks, local corrections, compositing and repeatable edits across separate elements. Photoshop is the more appropriate workspace when someone else must revise individual parts later.
What to do instead
Keep the editable source and move the enlarged image into an editing workflow when targeted changes are needed.
Photoshop cannot guarantee authentic missing detail
Manual tools and AI-assisted features can improve appearance, but neither establishes what a low-resolution source truly contained. A convincing texture can still be inaccurate, regardless of which workflow produced it.
What to do instead
Find a better original whenever factual fidelity matters more than visual polish.
Access and handling require separate checks
This comparison does not establish current plan terms, supported file types, retention rules or available controls for either service. Those details can change and may determine whether a workflow is suitable for client material.
What to do instead
Check the current product terms and privacy information before uploading sensitive files.
Migration path: a side-by-side decision table
Use these distinctions to decide whether to keep an enlargement-first workflow, finish in Photoshop or return to the source image.
| Imgupscaler-focused workflow | Photoshop workflow | |
|---|---|---|
| Primary aim | Make an existing image larger and assess whether the result is usable. | Edit, assemble and finish an image with granular control. |
| Best starting point | A reasonably clear small image that chiefly needs more display pixels. | A source that needs local corrections, multiple assets or an editable master. |
| Fine-detail risk | Generated-looking texture or altered small features need close review. | Manual and assisted edits also need review; apparent detail is not proof of authenticity. |
| Selective changes | Do not assume an enlargement-first route provides masks or layer-level control. | Masks, selections and layers support changes to specific regions. |
| Composite work | Not the right basis for assuming a multi-image composition workflow. | Designed for combining and adjusting separate image elements. |
| Revision handoff | Keep the original alongside any enlarged result for future work. | An editable layered file can preserve choices for later revision. |
| Sensitive material | Check upload and retention terms before using an online route. | Check the selected Photoshop features and storage settings before handling confidential files. |
| When to switch | Stay with enlargement when the reviewed result already meets the brief. | Move to detailed editing when corrections or compositing remain. |
Make the next step match the image
Start from the best available original, define the final size and inspect a candidate result before committing it to a project. For a simple enlargement, judge whether the visible result is sufficient. For corrections that must remain editable, plan a Photoshop finishing pass. Imgupscaler can help frame the enlargement question, but this page does not establish which specific controls are available after the handoff.
Choose a workflow you can verify
- Keep an untouched original.
- Inspect important details at the intended viewing size.
- Use an editable workflow when local revisions matter.
Comparison FAQ
It depends on the task, not a universal quality ranking. For an enlargement that needs little further editing, a focused upscaling workflow may be the simpler choice; Photoshop is better suited to masks, layers, compositing and precise local changes. Compare both against the same source and final viewing size.
Not when the job includes selective retouching, combining images or preserving an editable layered file. Enlarging an image addresses one part of a broader editing process. You can enlarge first and then use Photoshop for the corrections that remain.
Neither can reliably reconstruct detail that the camera did not capture. Try to obtain a better source before judging either approach; if that is impossible, compare results for unwanted changes to faces, text and textures. Choose the version that meets your purpose without implying invented details are authentic.
It can make sense when you need more pixels for the intended output, but keep the original so you can revisit the decision. Review the enlarged copy for artifacts before investing time in detailed edits. If the image mainly needs cropping or local repair, address those needs as part of the editing plan rather than assuming enlargement must come first.