Imgupscaler

Image basics

What is imgupscaler used for in everyday image work?

If you are asking what is imgupscaler used for, the short answer is enlarging a small image so it is more useful at a bigger display size. Imgupscaler is a name people associate with image upscaling; the important test is whether the enlarged result looks better for your particular image, not just whether it has more pixels.

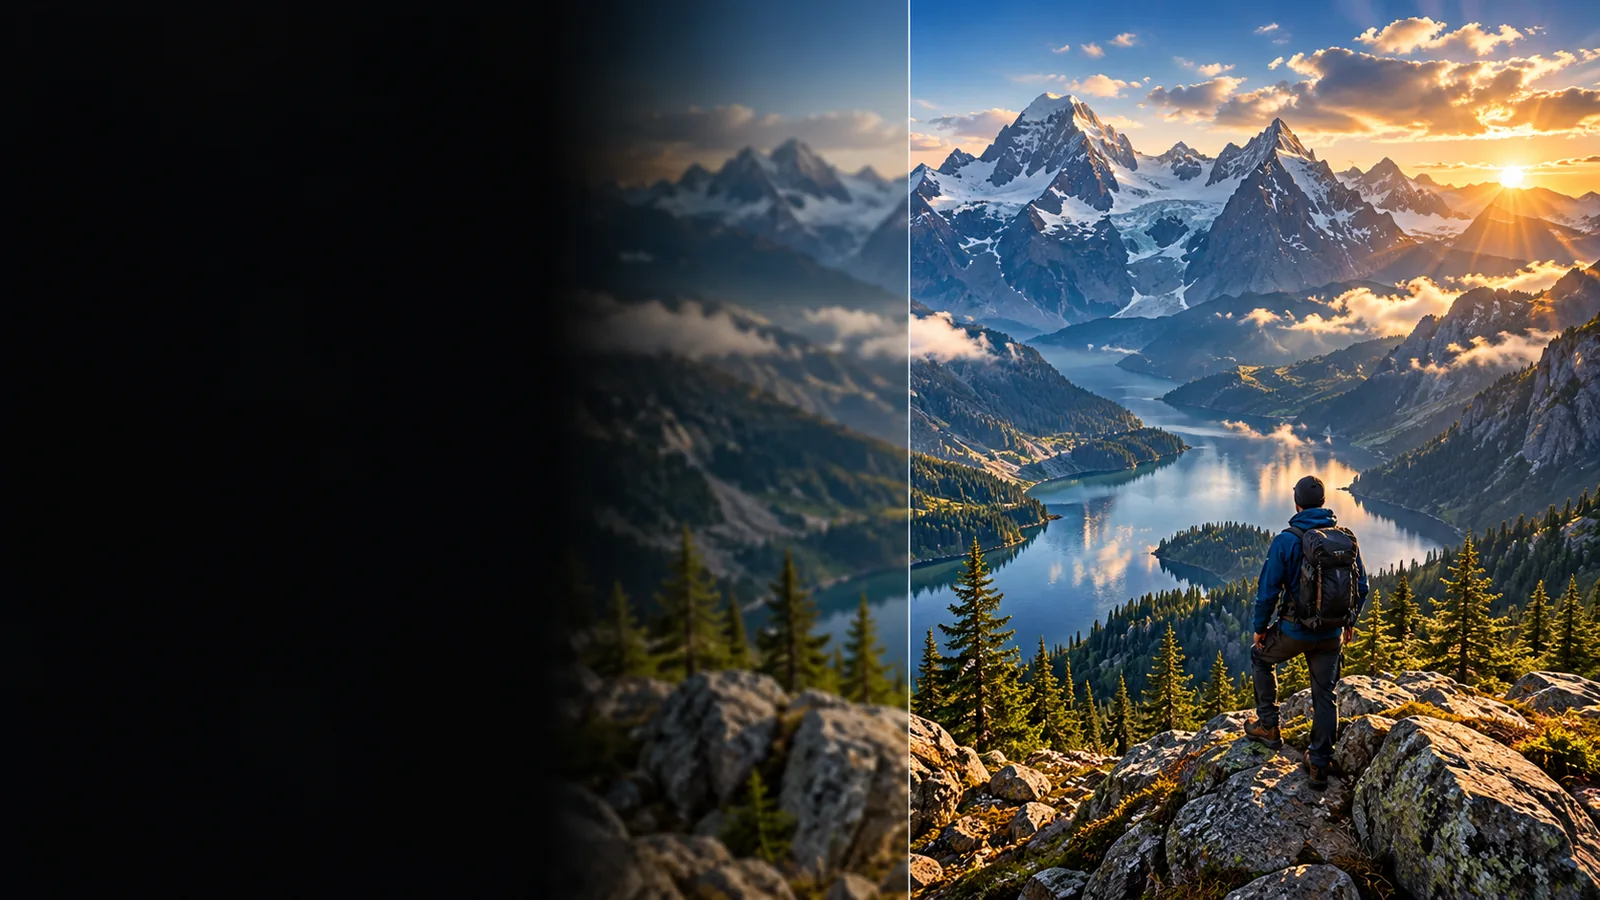
Imgupscaler image-workflow illustration

Where enlargement falls short

An upscaler can change an image's appearance and dimensions, but it cannot recover information that the source never captured.

1

It cannot reveal missing facts

If a face, license plate, or line of text is too small to identify in the original, a sharper-looking version is not reliable evidence of what was there. Generated-looking detail may be a plausible guess.

What to do instead

Find the original capture or a higher-resolution source when factual accuracy matters.

2

It cannot fix every source defect

Heavy compression, motion blur, and clipped highlights can remain visible or become more noticeable after enlargement. Imgupscaler is best evaluated against the actual defect in your starting file.

What to do instead

Start with the least compressed source available and inspect the result at its intended viewing size.

3

It cannot promise a better print

More pixels alone do not ensure natural textures, clean edges, or a pleasing print. A file can meet a requested dimension while still looking artificial up close.

What to do instead

Make a small test print or check a crop at the planned print size before committing.

How it works

Image upscaling starts with an existing picture, estimates a larger version, and leaves the final quality judgment to you.

  1. 1

    Inspect the source

    Check its dimensions and look for blur, noise, compression blocks, and tiny text. Imgupscaler cannot turn a fundamentally ambiguous source into a trustworthy record.

  2. 2

    Create a larger version

    An enlargement method fills the extra pixels by interpolation or by estimating visual detail. Those methods can produce different-looking edges and textures from the same source.

  3. 3

    Compare at the destination size

    Place the original and enlarged image side by side. Inspect faces, lettering, repeated patterns, and fine edges before choosing the version used for the final layout.

What it can and cannot do

The table compares two general enlargement methods, not guaranteed controls or outputs of a particular service.

Basic resizing AI-assisted upscaling
Starting point An existing image An existing image
Larger dimensions Adds pixels Adds pixels
New pixel values Calculates values from nearby pixels Estimates detail from learned visual patterns
Fine texture May look soft when enlarged substantially May look sharper but can contain invented texture
Small text Cannot restore unreadable characters May create convincing but incorrect characters
Best check Inspect softness and jagged edges Inspect artifacts and factual accuracy

Who uses it

Imgupscaler is used for practical presentation problems: a source image is too small for its next placement, but the original still contains enough useful detail to work with.

Small-business publisher

A product photograph needs to fill a larger space on a page.

Compare the enlarged result with the original, paying particular attention to labels, seams, and product edges. For a browser-based workflow, read about online image upscalers.

online image upscalers

Family photo keeper

An older digital photo needs a larger copy for sharing or a possible print.

Keep the original untouched and check that faces remain natural. If the source is a monochrome photo, treat adding color as a separate task from enlarging it.

adding color

Designer

A small illustration must fit a larger mockup without visibly rough edges.

Judge lines and textures in the finished composition rather than relying on pixel dimensions alone. Compare enlargement with a manual editing workflow when precise control matters.

a manual editing workflow

Take the next step with your image

Imgupscaler makes most sense as a way to prepare an existing picture for a larger placement. Bring a source you can inspect, keep the original, and judge any result against the destination rather than a pixel count alone.

Evaluate an image workflow for your source

  • Start with the best source available
  • Check detail at the intended size
  • Keep the original for comparison
Explore image tools

Frequently asked questions

It is used for making an existing image larger when the original is too small for its intended placement. Common reasons include preparing pictures for layouts, sharing larger copies, or assessing whether a small source can work in print. Always compare the output with the source because size and quality are different things.

No method can verify visual facts that the original did not capture. An AI-assisted result can estimate plausible detail, which may look useful in an illustration but should not be treated as proof of what a tiny face or unreadable sign actually showed.

Not always. Basic resizing may be enough for a modest size change, while estimated detail can help some images and introduce artifacts into others. The better choice depends on the source and how closely viewers will inspect the finished image.

Photos and illustrations with recognizable edges and reasonably clean source detail are useful candidates for a test. Severe blur, heavy compression, or very small text make dependable improvement harder. Check the result at the size where you actually plan to use it.

Upscale an image
Upscale an image