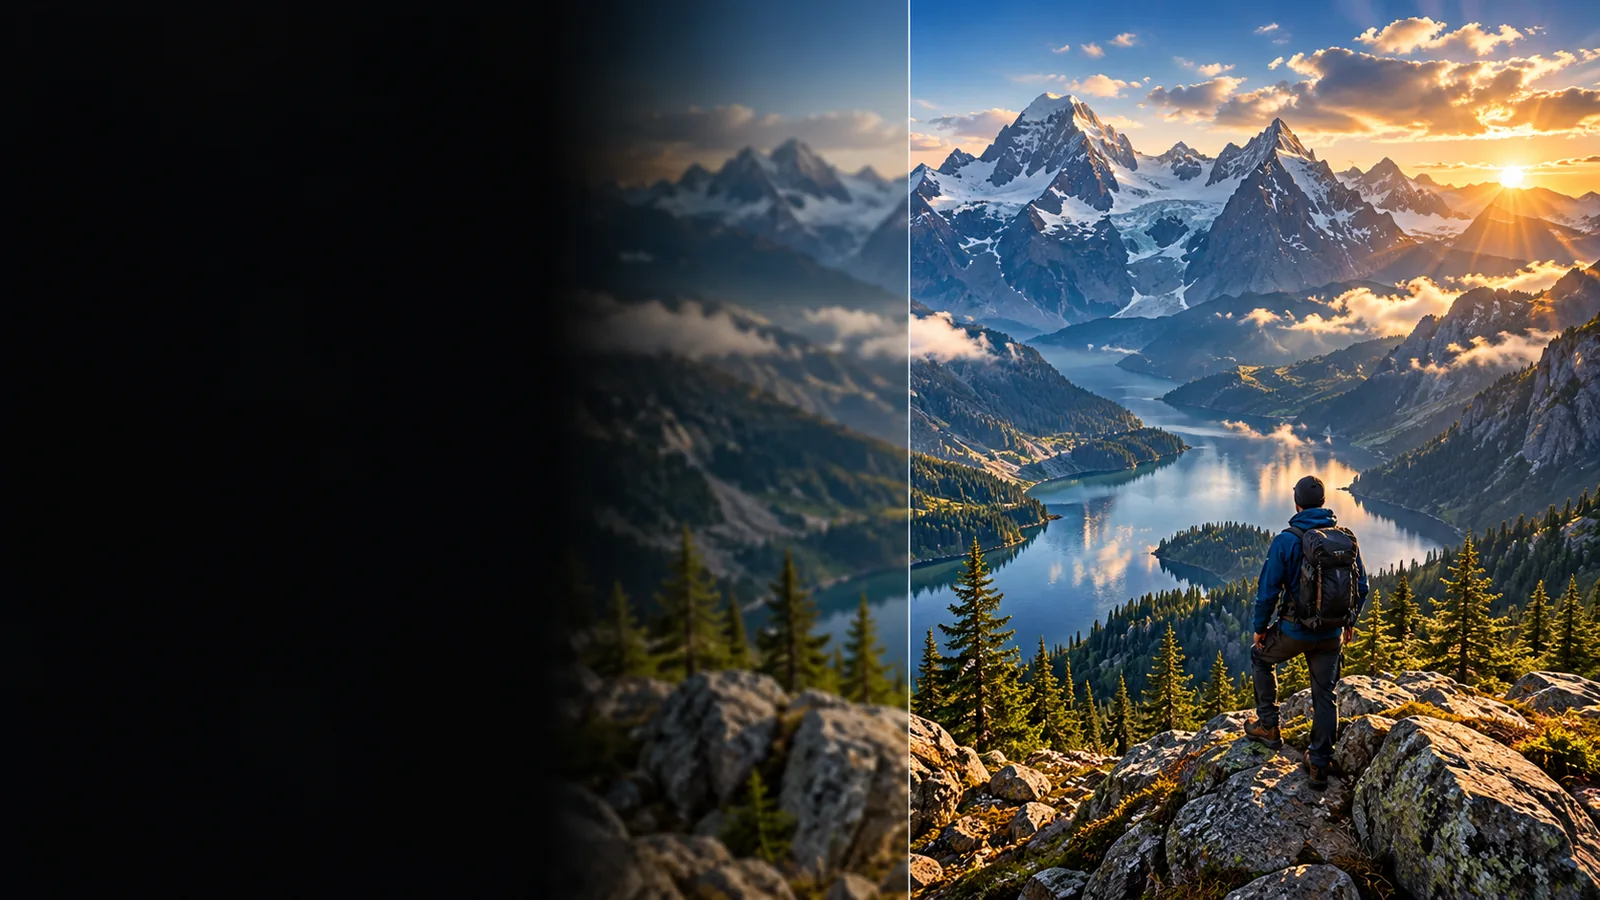
Imgupscaler

Color editing guide

How to approach imgupscaler colorize

If you searched for imgupscaler colorize, start by deciding what the original image should become. Adding plausible color to a monochrome photo is different from sharpening it or enlarging its dimensions; describe the colors you want, then inspect the result against the source.

Free to start · no signup
Imgupscaler image-editing illustration

prerequisites

Before attempting to colorize an image, choose a source with visible detail and decide which colors are known rather than guessed.

Family archivist

A scanned monochrome portrait has recognizable faces but no record of clothing colors. Keep the scan untouched and note any colors relatives can confirm before editing.

You can judge the new image as an interpretation, not a historically verified restoration. For changes to clarity rather than color, see the AI image-editing guide.
AI image editing

Small business owner

A grayscale product photograph needs colors consistent with a real item. Gather a current product photo or a written color reference first.

A reference gives you something concrete to check; added color alone cannot establish an accurate product shade. Larger output is a separate concern.

larger image output

Video editor

A black-and-white frame is being used as a still in a sequence. Check whether only that still needs color or whether every frame must match.

A single edited image does not colorize a moving clip or prevent colors from shifting between frames.

video editing considerations

Illustrator

An ink sketch has clean outlines but ambiguous materials. Write down a short palette and identify areas that must remain white.

Specific instructions make a proposed color treatment easier to review while preserving the uncolored drawing for comparison.

AI-assisted image changes

one full run-through

Treat imgupscaler colorize as a reviewable editing task, not a guarantee that software can recover the scene's true colors.

  1. 1

    Preserve and inspect the source

    Keep an original copy of the photo or drawing. Look closely at faces, edges, stains and shadows; damage in those areas can be mistaken for objects or color boundaries.

  2. 2

    State a restrained color goal

    Describe the subject, the desired palette and what must not change. For a portrait, you might request natural-looking skin, muted clothing and the original lighting without claiming to know the actual garment colors.

  3. 3

    Compare the result with the original

    Inspect small details as well as the overall impression. If colors cross an outline or a familiar object receives an implausible shade, revise the description or finish that area manually in an editor.

what fails

A convincing image can still be inaccurate. These limits matter most when color needs to represent a real person, place or object.

1

Missing historical facts

A monochrome image does not record the original hue of a coat, wall or flower. Automatic color choices can look believable without being correct.

What to do instead

Use dated references or eyewitness information, and label unsupported choices as interpretation.

2

Damage mistaken for detail

Scratches, faded areas and heavy compression can confuse the boundary between a subject and its background.

What to do instead

Work from the best available scan and address obvious damage before judging color.

3

Fine edges and reflections

Hair, transparent objects and reflective surfaces may take on stray colors. A pleasing full-size view can hide these local errors.

What to do instead

Inspect the result at a closer view and correct important edges manually.

4

A still mistaken for a clip

Changing one frame cannot establish stable color through an entire video sequence. Adjacent frames may have different lighting or details.

What to do instead

Plan a frame-consistent video workflow when the final deliverable moves.

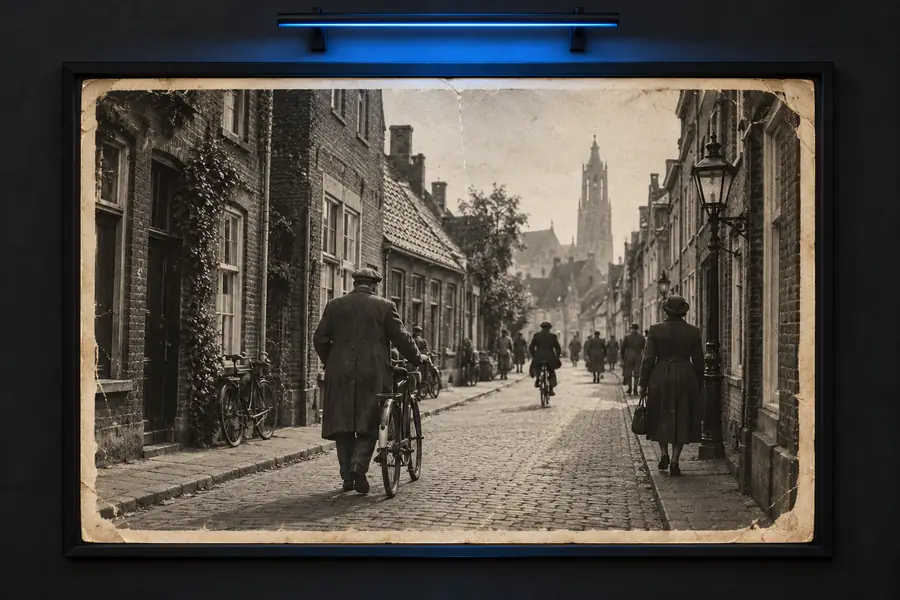
Vintage-themed reference image illustrating an older photographic look
Vintage reference
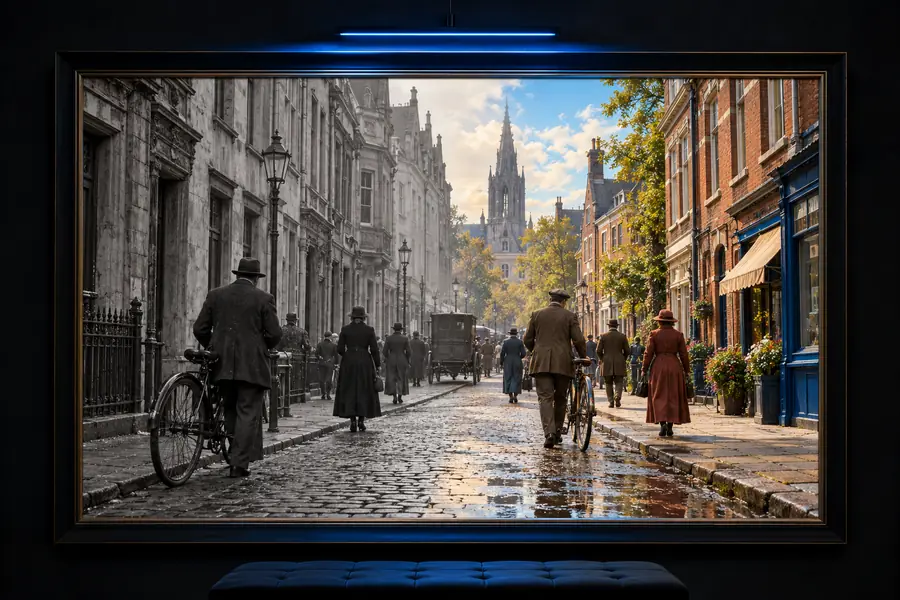
Color-themed reference image illustrating an image-editing goal
Color reference

These are separate illustrative images, not a matched before-and-after transformation or a verified Imgupscaler output. Compare your own edited image with its original before accepting a color choice.

Vintage referenceColor reference

Have an original image and a clear color goal ready. Imgupscaler can help you frame the task, but the destination's available tools and results should be checked there before relying on them for an important photograph.

Explore your image-editing options

  • Keep the source image
  • Describe known colors
  • Review the result closely
Explore image tools

its own FAQ

Colorizing means assigning colors to areas that do not contain recorded color information. Do not assume a particular control or automatic workflow is available at the linked destination; check its current tools before starting. Any proposed result still needs visual review.

Not from the black-and-white image alone. A plausible blue coat might have been green in real life, so use independent references when accuracy matters. Otherwise, describe the result as an interpretation.

Start with the clearest available source, because enlarging a damaged image does not reveal colors that were never recorded. Whether enlargement helps an editing workflow depends on the source and the tools you use. Compare edges and facial details after each change.

No. A still image and a sequence of frames are different editing tasks, and consistent video color requires attention to changes over time. Plan a video-specific workflow if the final result must move.

Upscale an image
Upscale an image